Seize ground, table quarters - 3 objectives.
My SM list can be seen
here. with the exception of replacing the attack bike with some bling which i cant recall now.
 |
| The battfield - Paul setup for once - usually I do it cuz I don't trust the other two to make a balanced/realistic/not crazy table - this time I asked him to keep it moderate (what I mean is like Ilya who will put a bunker in the very corner on each side, barricade each one off with terrain and leave everything else open -facepalm- ) |
We put down the objectives and the strategic thinking with this is tied in with the next thing. I won the roll of and decided to go first. I could do two things put the objectives on the side with most dense terrain and force him to deploy there - meaning I could drive onto his objectives while he would have trouble deepstriking his reserves - a risky tactic. Or I could also put the objectives in the same place and castle up. I went for the safer option... Deciding to make use of the scouts' outflank rule for once.
 |
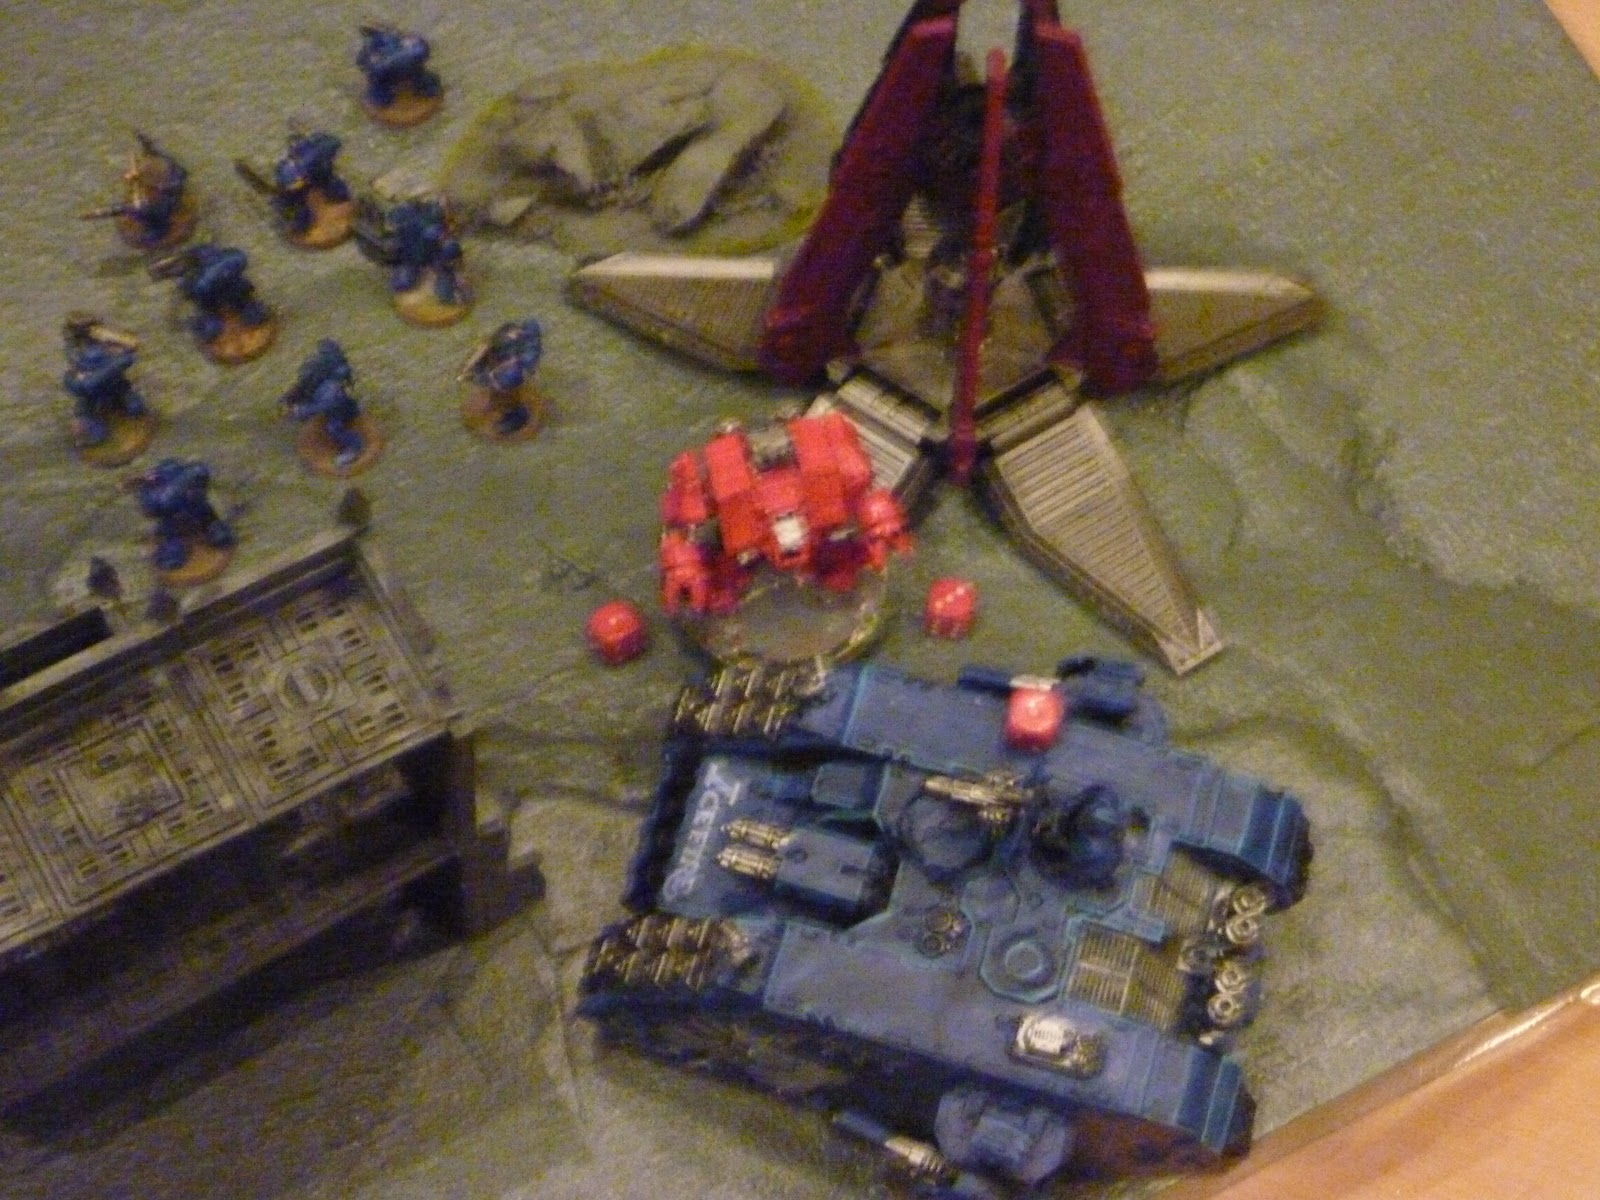
| Castling up - land raider to clear out stuff that deepstrikes too close and defend/hold the tac squad later in game. Predator to head for a hill and shoot over the battlefield. Everything else is pretty much obvious. |
 |
| Paul's deployment is as sparse as usual - note the baal counts as a vindicator |
 |
| scouts infiltrate |
 |
| his scouts also infiltrate |
 |
| He seizes the initiative drops down and does some minor damage to the redeemer |
 |
| not much else happens but meph jetbikes his way to the bastion and the scouts climb up to claim the objective too, my razorback is immobilised |
 |
| My turn and everything unclusters threatening both flanks, both libbyes gate away, I do minor damage on all fronts and kill a few scouts |
 |
| More detail now - multi-melta off the redeemer and a missile shot knock off the melta gun of the furiosio and shake it |
 |
| My dreadnought dropped down and flamed four scouts |
Turn 2
 |
| Meph does another leap and destroys the vindicator |
 |
| Dreadnought explodes the land raider in CC!!!! I completely underestimated his strenght considering how most other things just bounce off it... |
 |
| Overhead shot of the battlefield during paul's turn 3 not much really happens - termies arrive |
 |
| I Moved into combat with his lr and do a bit of damage at some point |
 |
| Mephiston takes some wounds from plasma and perils of the warp |
 |
| Dread kills scouts and the vindi which was immobilised by the speeder last turn |
 |
| In combat with raider it is immobilised and shaken, I also mishapped gating my termies back and they got destroyed |
Turn 3
 |
| Razorback is destroyed forcing guys to get out and my tac squad got eaten - hoping to run to middle objective with the combat squad |
 |
| Sanguard and dante touch down and kill a few scouts with shooting |
 |
| My turn and probably the cleverest thing I did all game - leave libby fighting the tank with might while sternguard charge in - I lose a sternguard but kill two sanguard with power fist attacks as Paul gets unlucky |
 |
| Retreat to the objective! - unfortunately this was cut short by a jetbike named mephiston who slaughtered most of them + the dreadnought next turn... |
 |
| More minor damage to the land raider |
 |
Predator swivelled round ot shoot termies
or maybe it was meph... |
Turn 5
 |
| Termies survive fire and advance on Venator Vitiosus |
 |
| Dread is plodding along.... |
 |
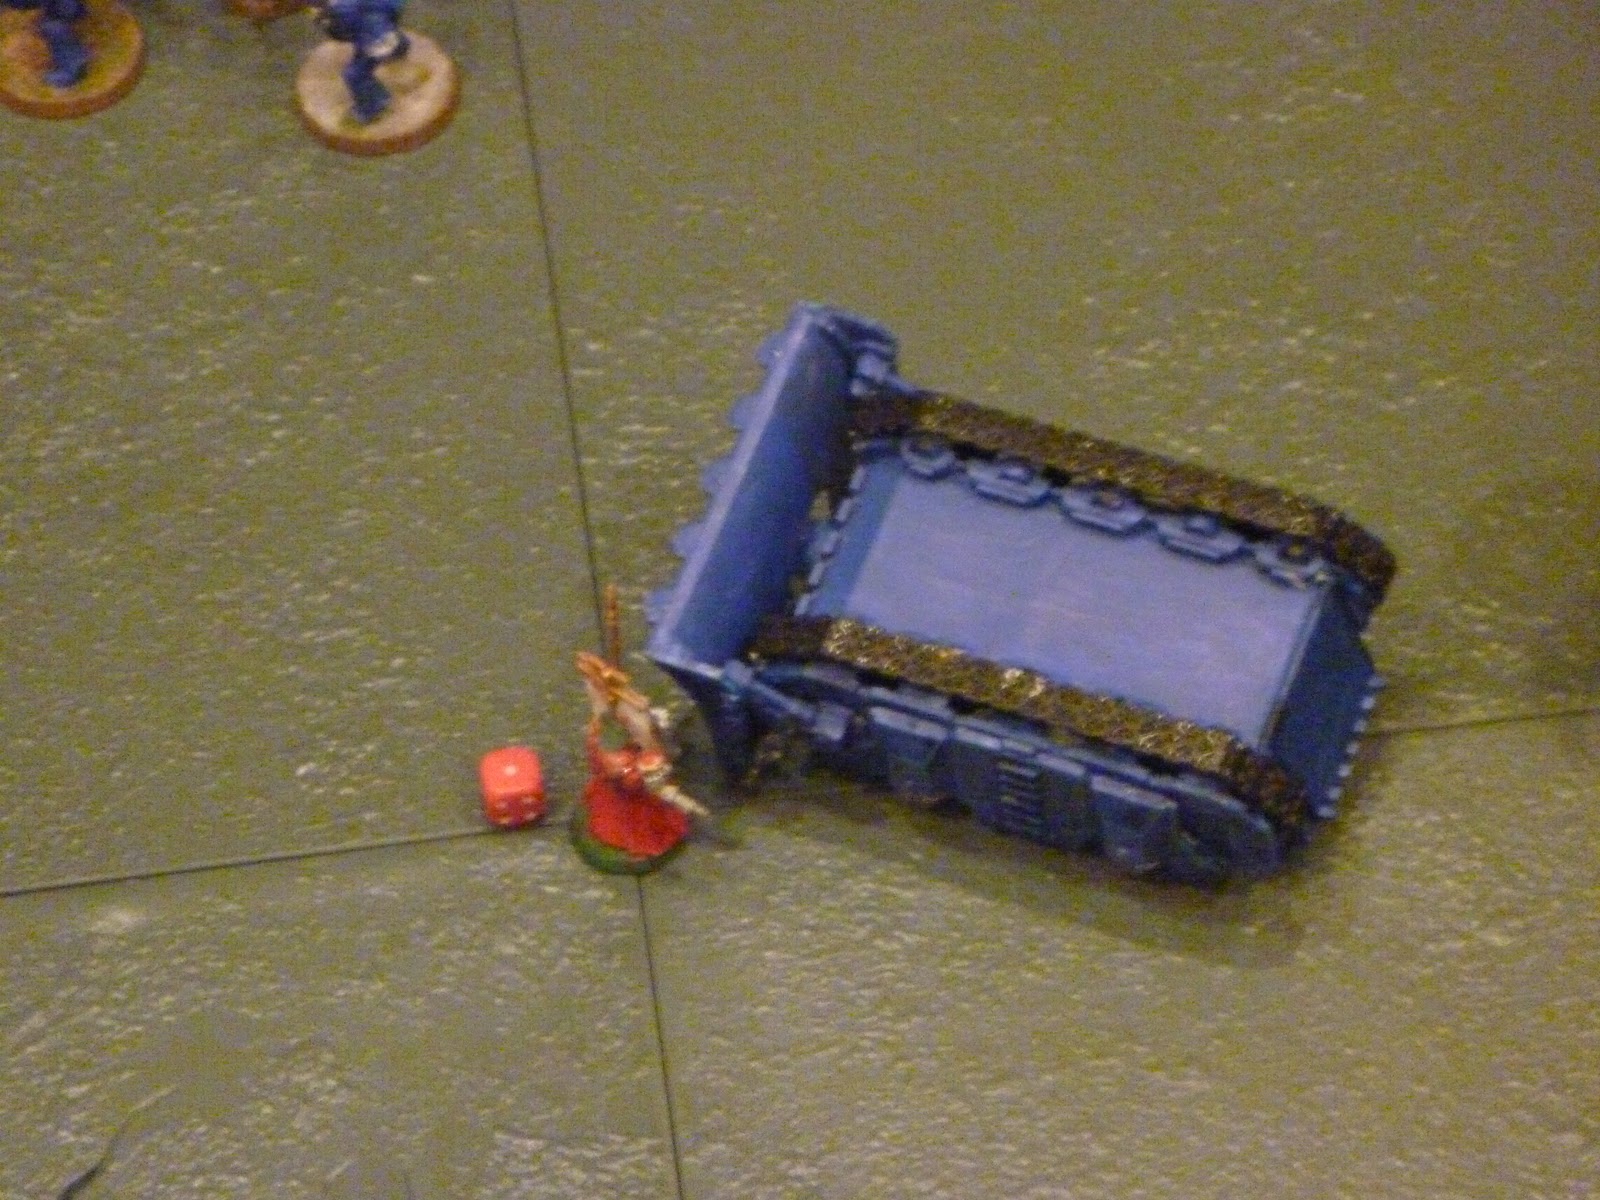
| Remember this ? |
 |
| Ta-da - dead predator... :( |
 |
| Sanguard finish off the sternguard... and menace the scouts |
 |
| battlefield looking grim - my dread is immobilised and I only have 2 men remaining in the combat squad |
 |
| the librarian in an desperate final attempt attacks the sanguard and kills two making them no longer a scoring unit... but takes a wound in the process |
 |
| Overhead shot of turn 5 where we called it a draw after a well contested match - neither of us had troops left so it would be kind of pointless continuing... |
Things to take away:
- definitely need more troops
- not to use gate so rashly
- think more about placing the land raider and deployment
- have a second plan if initiative gets stolen
- 5 man scouts are a meh unit as are 5 man marine squads with nothing
- This army can kill MEPHISTON !!!
- I need more anti-tank
- I like land speeders
- Predators don't cut it
See you next time, I'm trying to spread posts now until december so there will be another batrep this month and maybe one more post - next batrep is Salamanders vs Blood Angels


No comments:
Post a Comment